If you make a purchase through our links, we may earn a commission.
How To Grow Potatoes
Planting
To grow potatoes successfully, select a location with at least 6 hours of direct sunlight and fertile, loose, well-drained soil. Hard or compacted soil can lead to misshapen tubers. Ideally, the soil should be slightly acidic, with a pH of 5.8 to 6.5, and the soil temperature should be at least 45º to 55ºF (7° to 13°C). In the fall, mix compost or organic matter into the soil to improve its fertility and structure. This preparation will create an ideal environment for your potatoes to thrive and produce a bountiful harvest.
When To Plant Potatoes
To grow garden potatoes successfully, plant them 2 to 4 weeks before the average last frost date in your area. Ensure that the soil temperature is at least 55°F during the day and 45°F at night. However, pay more attention to the soil conditions than the calendar when determining the planting time. The soil should not be too wet; if it sticks together and is hard to work, let it dry out a bit first. In regions with late and wet springs, you can plant potatoes later, even as late as April or June, especially if using containers. In cooler regions, early-maturing potatoes are typically planted in early to mid-April, while in warmer regions, planting times range from September to February, with specific dates varying based on location. For instance, gardeners in central Florida plant potatoes in January, while those in Georgia plant in February.
How to Plant Potatoes
To start planting potatoes, it’s essential to use certified seed potatoes that are disease-resistant and have visible eyes (buds). These are different from potato seeds or grocery produce. Break the seed potatoes free and lay them out in a tray for chitting, which means sprouting in a bright, frost-free area like an indoor windowsill. Chitting isn’t essential, but it can help speed up the sprouting process, so by the time they’re planted, they’ll be eager to send out roots.
After about a month of chitting, the potatoes should have stout, green sprouts. It’s important to note that you want these sturdy sprouts; long, pale sprouts are a sign that the potatoes have been left in the dark for too long.
If you haven’t had a chance to chit your potatoes and it’s already time to plant, don’t worry – get them in the ground. Potatoes are resilient plants and can still grow well without chitting.
To multiply your seed potatoes, you can cut them in half. However, only do this if the potatoes have plenty of eyes, which are small dimples where the sprouts emerge from. Plant the halves with the most eyes facing upwards for better sprouting.
Allow the cut pieces to heal for at least two days before planting. This healing process helps form a protective layer over the cut surface, improving both moisture retention and rot resistance. Do not cut up seed potatoes that are smaller than a hen’s egg; plant them whole.
When preparing the planting area outside, spread compost across the surface to a depth of around an inch or 3 cm. Potatoes are fairly hungry plants, so this extra nourishment will help support good soil fertility and a strong harvest.
Growing
Watering potatoes is crucial, especially given their lush foliage and the effort required for tubers to swell. If conditions are dry, ensure thorough watering. Maintain consistent moisture, particularly after flowering. Potatoes generally require about 1 to 2 inches of water per week. Avoid excessive watering immediately after planting and ensure adequate moisture as tubers develop, as inconsistent moisture can lead to misshapen tubers. Cease watering when foliage begins to yellow and die off.
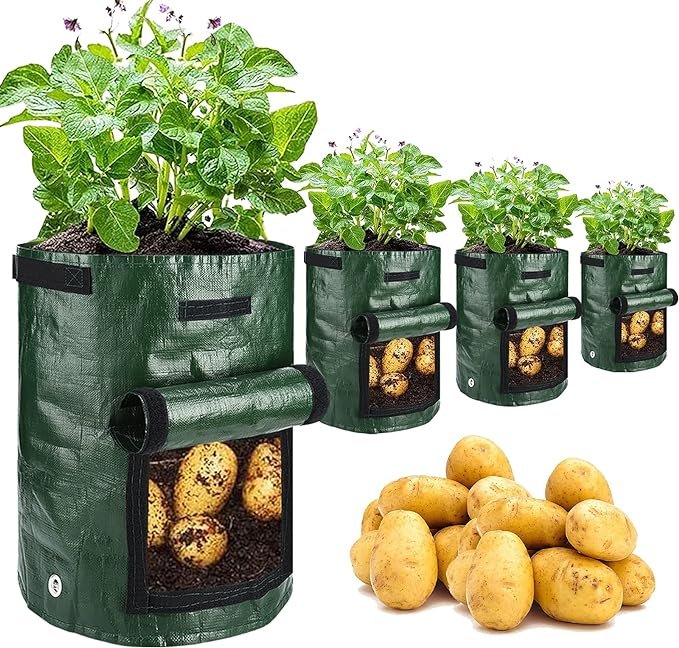
For container-grown potatoes, diligent watering is crucial, especially in warmer weather, as this significantly impacts crop yield.
Hilling potatoes is essential for enhancing flavor through depth and darkness. As plants grow above the soil, periodically mound soil and compost around them, leaving only the top leaves exposed. It’s vital to prevent potato spuds from exposure to sunlight, as this can induce greening and the production of the toxic compound solanine, resulting in bitterness.
To hill potatoes, use a hoe to mound soil when stems reach 6 to 8 inches tall, ensuring only the tops are visible. Continue in stages until no more soil can be added or foliage covers the rows. For smaller raised beds, top up with organic matter for ease.
Protect potatoes from late frosts, which can damage young foliage, by covering them with warming fleece or row cover fabric, or shielding clusters of shoots with pots.
Additionally, practice yearly crop rotation with potatoes to avoid pests and diseases.
HARVESTING
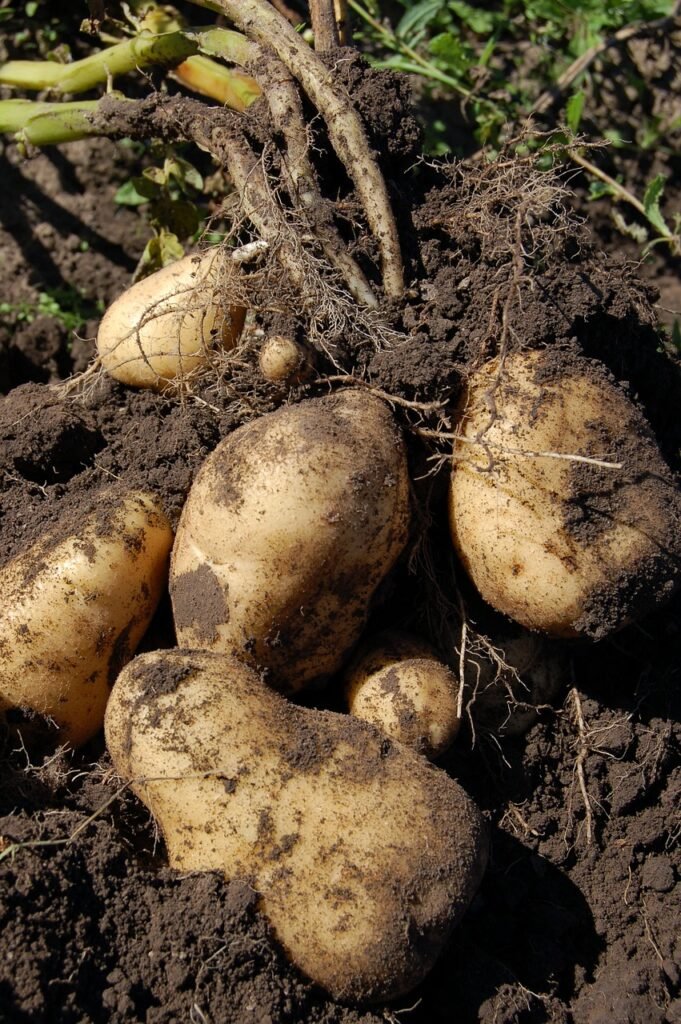
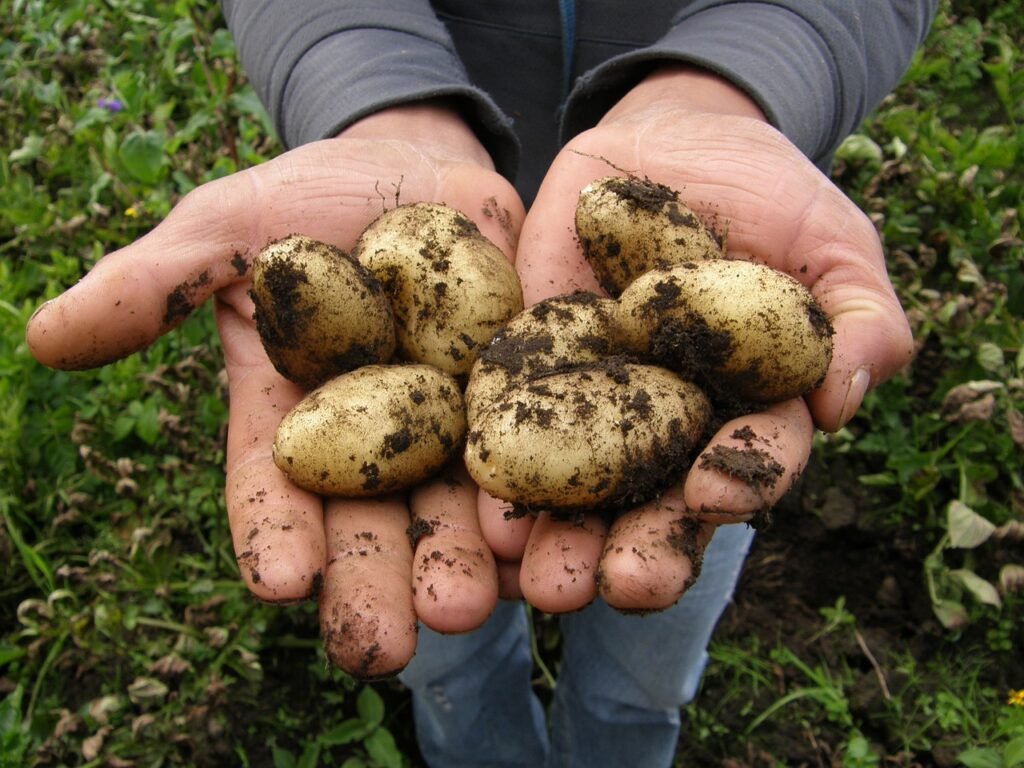
Harvesting potatoes can be an enjoyable experience, akin to discovering nature’s treasures. It’s best to harvest on dry days to prevent soil clumping and damage to the tubers. When digging, be gentle to avoid puncturing the tubers or causing cuts or bruises to the skin. The soil should be loose, making digging easy and minimizing damage to the potatoes. While potatoes can tolerate light frost, it’s important to harvest before the first hard frost.
Harvesting at the right stage is crucial to prevent tubers from sitting too long and becoming susceptible to slug or disease attacks, especially for maincrop potatoes.
Earlies are typically the first to be harvested, usually while the plants are still flowering. The tubers should be about the size of a hen’s egg or slightly larger, but the exact size is a matter of preference. Use a fork to gently loosen the soil around the plant, being careful not to damage the potatoes. Lift the plants to expose most of the tubers, but be sure to check the soil for any missed potatoes.
Maincrop potatoes should be harvested once the foliage starts to die back towards the end of the growing season. It’s helpful to cut back the foliage before digging on a dry day. After harvesting, leave the potatoes on the soil surface for a few hours to allow the skin to dry slightly. Avoid leaving them exposed for too long, as they may start to turn green, which can affect their flavor and safety for consumption.
Extra tips for knowing when and how to dig up potatoes
Preparing potatoes for storage requires careful attention to detail:
– Toughen up potatoes for storage by minimizing watering after mid-August. This helps strengthen their skins and extends their shelf life.
– Assess the maturity of potatoes by digging up a test hill. Mature potatoes feature thick skins firmly attached to the flesh. If the skins are thin and easily rub off, the potatoes need more time in the ground.
– When harvesting in wet conditions, allow the potatoes to air-dry as much as possible before storing them. This helps prevent moisture-related issues during storage.
– Inspect harvested potatoes for any small green spots. While minor spots can be trimmed off, significant greening indicates the presence of solanine, a toxic compound. Discard potatoes with extensive greening.
– Prioritize storing potatoes that are free from bruises, disease, or damage. Flawed potatoes are more prone to spoilage and can compromise the quality of the entire batch.
– Regularly monitor stored potatoes, checking them every few weeks. Remove any potatoes showing signs of spoilage promptly to prevent the spread of decay and ensure the longevity of your stored crop.
How to Cure Potatoes
To store potatoes after they’ve dried off, follow these steps:
- Pack them into breathable sacks or sturdy cardboard boxes to store in a dark, cool, frost-free place (45° to 60°F / 7° to 15°C) for up to 2 weeks. This allows the potato skin to cure, extending their storage life.
- Brush off any clinging soil before storage. Avoid washing the potatoes until you’re ready to eat them, as washing can shorten their storage life.
How to Store Potatoes
When harvesting potatoes for immediate consumption, storage location is not critical; they can be stored anywhere convenient.
For long-term storage, potatoes need a dark, cool environment (ideally 38° to 40°F or 3° to 4°C) to prevent sprouting and disease. The storage area should also be somewhat humid; potatoes contain 80% water, so if the air is too dry, they can wither and dry out.
If you have a damp cellar, that’s ideal for storing potatoes. Otherwise, consider using an extra refrigerator set a few degrees higher than normal, storing the potatoes in dark-colored perforated plastic bags to allow air circulation. Avoid exposing potatoes to light to prevent greening. Alternatively, you can store potatoes in an unheated entrance, spare room, closet, attic, cabinet, or insulated garage. To increase humidity, place large pans of water in front of any air source.
PESTS/DISEASES
The most common potato disease is scab, which manifests as rough, scabby patches on the skin. While these can be peeled off along with the skin, scabby potatoes are unappealing. To avoid scab, ensure the soil is consistently moist during the critical period when tubers are developing, typically after the foliage has started to bush out. Adding compost or organic matter to the soil before planting can improve water retention. Additionally, selecting scab-resistant varieties can help mitigate the risk.
Potato blight, or late blight, is more challenging to prevent. It tends to occur after warm, wet weather and can rapidly destroy an entire crop. Blight causes dark patches on the leaves before spreading quickly. While there are some blight-resistant varieties, options are limited. Early varieties are usually harvested before blight strikes later in the summer. If you spot signs of blight, such as dark patches on the leaves, act swiftly to cut back the foliage and harvest the potatoes as soon as possible to salvage what you can.

This Post helped me so much because I just grew my first potatoes!!! I really recommend this post to any person trying to grow potatoes.